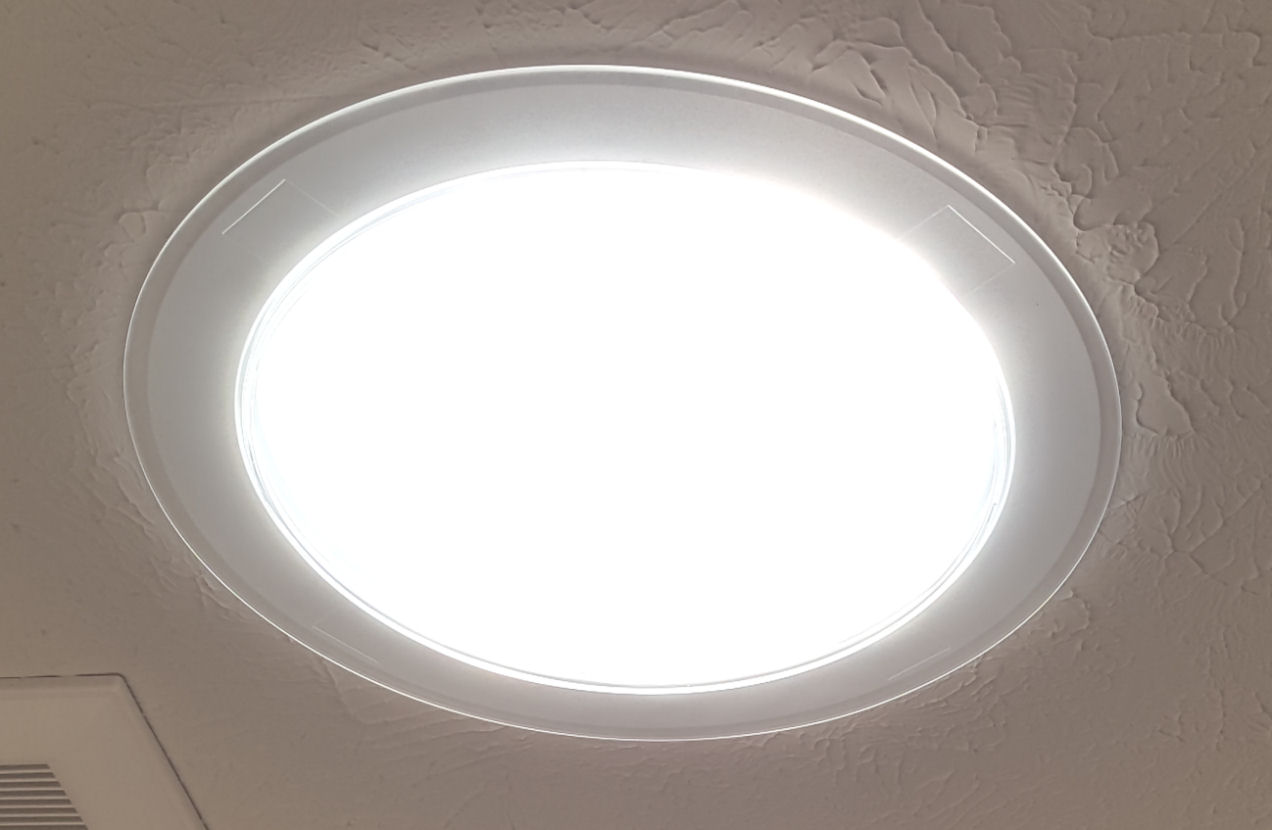
Sun Tunnel Skylights FAQs
Sun Tunnel Skylights
(Tubular Skylights or Light Tubes)
Come in 3 sizes with severial options
Q. What is a Sun Tunnel Skylight?
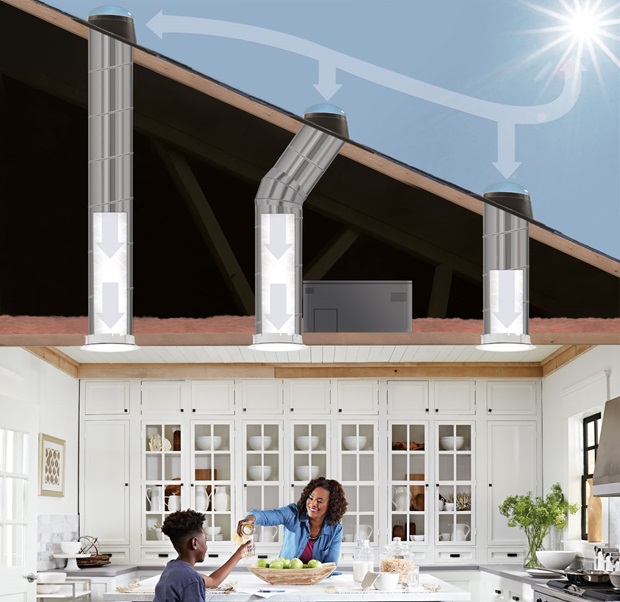
A. Referred to in the trade as a “Tubular Skylight” the VELUX Sun Tunnel® is a portal allowing sunlight into a dark area of a home or office. We usually use Sun Tunnels in bathrooms, closets or dark hallways often in the center of a structure where a skylight would be a poor choice due to the distance from the ceiling to the roof.
Q. How do they work?
A. Very simple; by reflecting daylight from a domed flashing on the roof, through a highly polished or mirrored duct, to a ceiling-mounted diffuser.
It is amazing how much light a Sun Tunnel brings into the room and what a change they make to a home or office.
Q. Where do you install most Sun Tunnels ?
A. Bathrooms and hallways are probably our most frequent installations, but family rooms and kitchens are close behind. Sun Tunnels can bring light into the center of a home which is often beneath the tallest part of the attic. They can traverse twenty feet through the attic.
They are a very cost-effective way to bring daylight into living space. We seldom install Sun Tunnels in bedrooms and we rarely install only one Sun Tunnel on a home.
Q. What is the difference between VELUX and other brands of tubular skylights?
A. We like to think that VELUX Sun Tunnels are the best tubular skylights on the market. They offer a 20 year warranty on their reflective coating, which is a process other off-brand units have trouble replicating.
Beware of cheaper units as they often have trouble keeping the shiny interior of the ducts from crazing or separating from the metal over time.
And others claims concerning a percent of light transfer are difficult to verify. We do not recommend the flexible tubing or shaft…it just doesn’t provide the light that the rigid product does.
Q. What sizes are available?
A. VELUX manufacturers three sizes of residential Sun Tunnels, 10″, 14" and 22″. We sell and install the 14″ primarily because it brings in so much light. The 10″ is often used in older houses where the distance between the structural lumber does not permit a 14″Sun Tunnel. The 22" is used mostly in larger areas or where the ceiling is higher.
The 14″ Sun Tunnel has literally twice the reflective surface of the smaller units and brings in about twice the light. We also carry commercial Sun Tunnels in 14" and 22" but they is seldom used in residential applications because of there higher profile.
Q. What does a Sun Tunnel cost?
A. Installed a 10″ Sun Tunnel averages around $1000.00. That price includes the first four feet through the attic, each Linear foot of extension adds $38. Most of our installs need one or two extensions but we can traverse up to twenty feet through an attic without little affect on the amount light delivered below. The 14″ units are $100 more while the 22" units cost about twice that of a 10" unit. However you can receive a 30% solar tax credit by adding a Solar Powered Night Light.
Q. What about at night?
A. As you might expect the Sun Tunnels really don’t bring in much light at night, and the light that comes has a natural blue tint.
However, a light kit is available to make your Sun Tunnel a ceiling fixture when there is no daylight. This internal kit hangs inside the rigid tubing and is about 16 inches up in the shaft. A LED bulb of almost any size can be used to light the room or hallway at night. We recommend using a 60 watt or 75 watt equivalent warm white (2700 Kelvin).
VELUX now offers a solar powered night light that will illuminate the area beneath the Sun Tunnel with about 4 watts of light. The real advantage; the solar night light makes the cost of entire Sun Tunnel, including installation, eligible for a 30% Federal Tax Credit.
Call for current pricing and take advantage of 30% the tax credit.
It will save you $100's of dollars.
Q. What goes on the roof?
A. VELUX offers severial rooftop flashing options.
The TMR is the standard dome used on sloped roofs. The low-profile TGR is used primarily on South-facing roofs. The glass lens TLR was developed for HOA or townhomes where rules prevent domed units. The TCR is for use on flat roofs where a curb is required and the all new TZRL is designer for applications where a fire rating is desired.
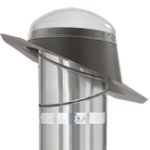
Pitched Metal:
Available in 10", 14"
TMR (Rigid Tube) TMF (Flex Tube)
- Consistent Daylight distribution throughout the day
- Provides straighter tunnel run through most roof pitches
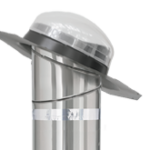
Low-Profile Metal:
Available in 10", 14", 22"
TMR (Rigid Tube) TMF (Flex Tube)
- Best for south, west, and east facing roofs
- Parrallel design to blend with roofline

Low Profile Flat Glass:
Available in 14"
TLR (Flat Glass)
- Low profile design for a sleek appearance
- Perfect where local ordinances or HOAs prohibit acrylic domes on roofs
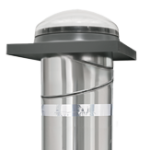
Curb Mount:
Available in 14"
TCR (Rigid Tube)
- One-piece metal, Curb Mount flashing
- Ideal for low pitched or flat roofs, a roof curb is required

Curb Mount:
Available in 14"
TZRL (Rigid Tube)
- One-piece metal, Curb Mount flashing
- Ideal for low pitched or flat roofs, a roof curb is required
- TZRL (Flashing Kit licluded)
Q. What connects the Flashing to the Diffuser
A. VELUX offers Two Tunnel options.
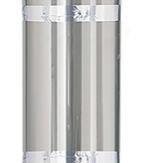
Rigid Tunnel
Rigid tunnels are recommended when there is a straight, unobstructed path from the roof to the ceiling, although they can be maneuvered slightly.
- Flexi Loc™ tunnel systems for easy and speedy tunnel assembly
- Brighter white light
- Excellent for long runs
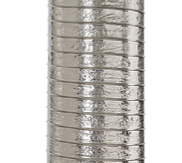
Flexible Tunnel
Flexible tunnels are recommended when installation around obstacles within the loft space is required. They are the easiest product to install because of the maneuverability of the material.
- Excellent for ease and speed of installation
- Easily bends around attic obstructions
- Helps diffuse sunlight in short runs
- Ideal for shorter tunnel runs
Q. How long will a Sun Tunnel last?
A. VELUX warrants the acrylic domes for ten years and the solid reflective tubing for 20 years. The rigid tubing in the attic should last a lifetime. As with all products we install.
The Skylight Guys provides a ten year comprehensive installation warranty.
All warranties are transferable if the building on which our products are installed is sold.
Q. Can I put a Sun Tunnel anywhere on my home?
A. Our installers here at The Skylight Guys always verifies the location before cutting holes. Sometimes we find hidden wireing, Plumblig or heating/cooling ducts in the attic that interfere with a location. But that can also be delt with.. We will do our to provide a Aesthetic installation
Just because a location seems good inside doesn’t mean it won’t conflict with a valley or ridge on the roof. By allowing our installer to evaluate the location we head off any installation isues that may cause trouble later, before it becomes a problem.
And no, we have never had much luck trying to extend a Sun Tunnel through the second floor down to the first floor or basement.
Q. How many Sun Tunnels can I have on my roof?
A. Aesthetically we don’t like to put more than two or three domes on any one face of a roof. If multiple Sun Tunnels are needed we often recommend the TLR glass lens units which are not as obvious on the roof.
Q. How long dos it take to install a Sun Tunnel
A. From start to finish, it takes about 2 Hours to install a VELUX Sun Tunnel® Skylight.
1. The Attic
First, your installer will go into the attic to check rafter locations, take measurements, and mark off where the ceiling and roof holes will go.
2. The Rooftop
Up on the roof, your installer will cut a hole and install the Flashing, the upper portion of the tunnel the dome and reseal and roofing material that was disturbed.
3. The Interior
Back inside, your installer will cut a hole in the ceiling and install the diffuser, the lower portion of the tunnel that you see from the inside. Then they will connect the two holes and seal the tunnel seams, diffusers lense and trim ring, if equiped.
Then your new light will be on!
and your ready to enjoy many trouble free years of Natural light

